OpenGL Renderer
- Beta
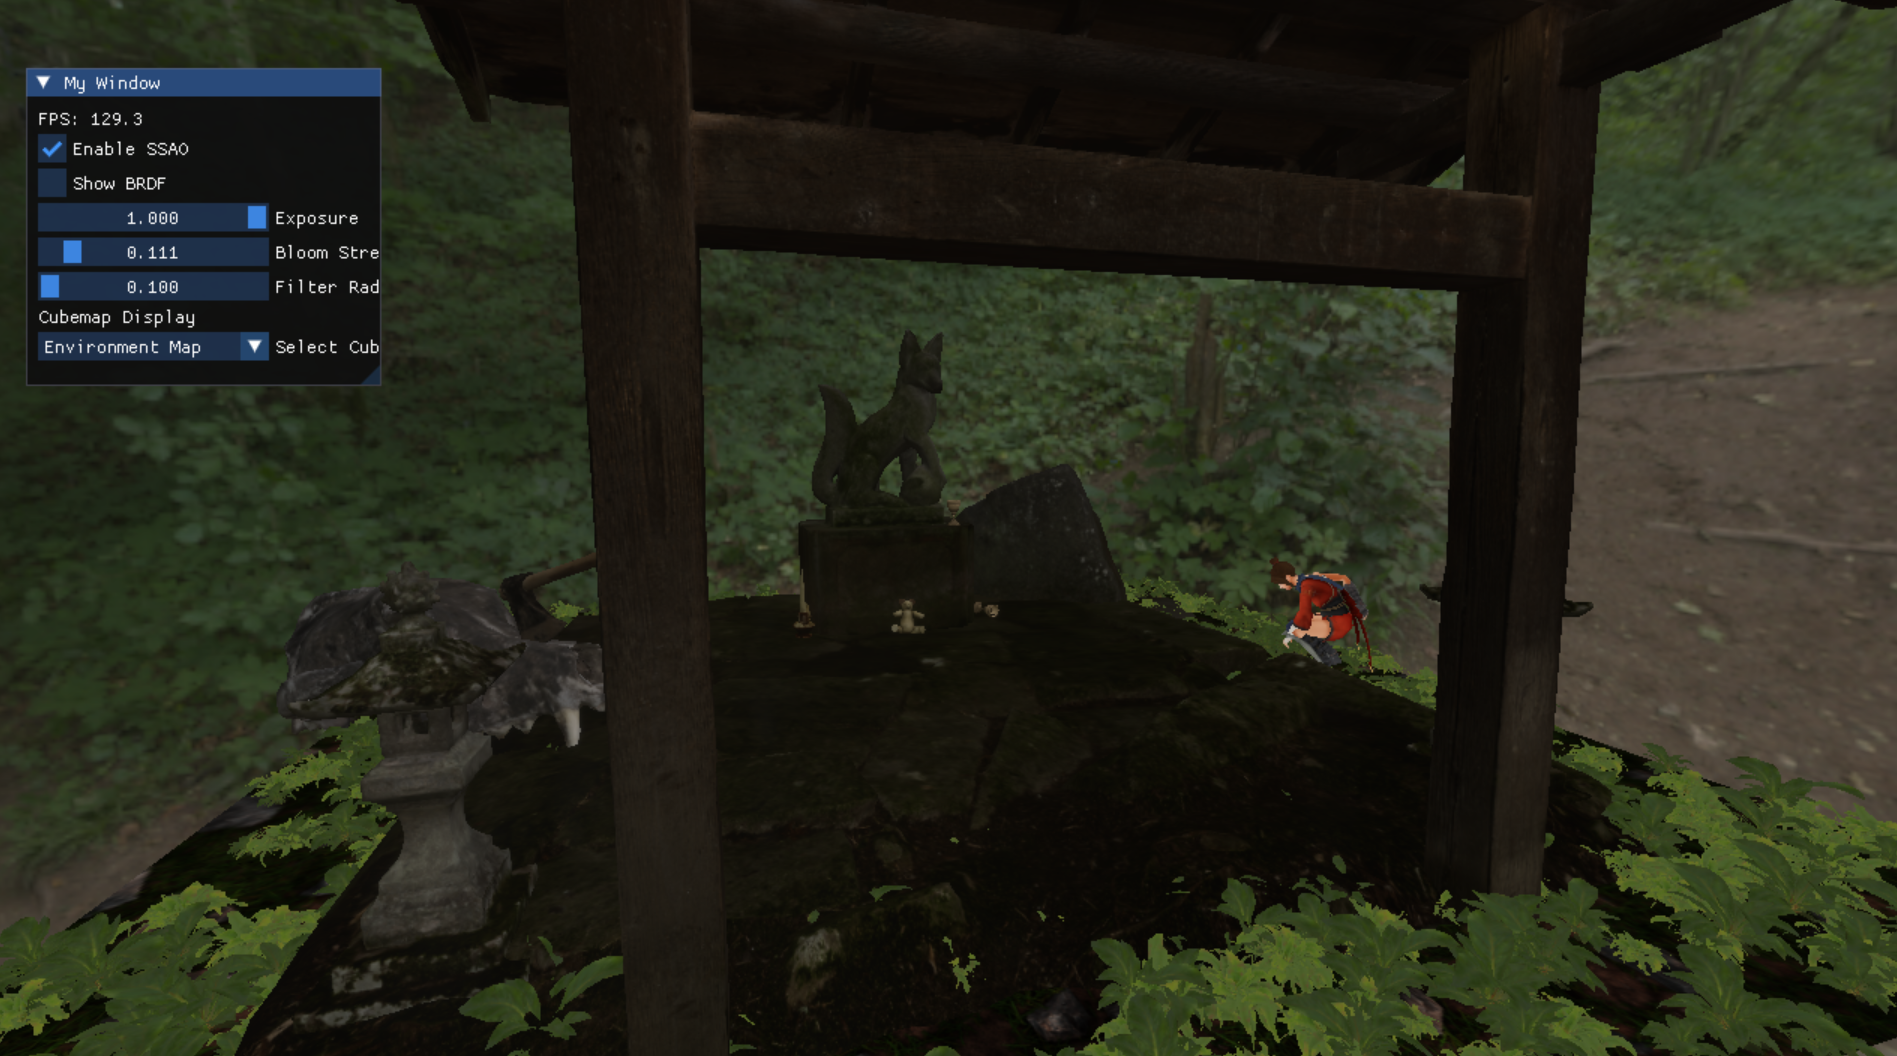
3D Scene in OpenGL
About
This project was developed as part of the Computer Graphics coursework at SAE Institute Geneva. The goal was to create a modern-ish renderer in OpenGL version 300 es that supports a range of effects such as SSAO, HDR, Bloom, and such.
This blogpost will go over a few techniques I implemented with more or less success.
Goals
- Understand and implement a basic rendering pipeline.
- Implement a maximum of different rendering techniques and effects to the scene.
Deferred Rendering Pipeline
Description
Unlike Forward Rendering, where lighting calculations happen per object, Deferred Rendering stores object data in a G-Buffer (Geometry Buffer) and computes lighting in a separate pass, which allows for efficient lighting calculations with multiple light sources without redundant shading computations.
Rendering Steps
The different passes I decided to implement are as follows:
- Shadow Map Pass: Generates Cascaded Shadow Maps (CSM) for directional lighting.
- Geometry Pass: Renders all objects to the G-Buffer, storing position, normal, albedo, and material properties.
- SSAO Pass (Optional): Uses the G-Buffer to generate an ambient occlusion texture.
- PBR Pass: Computes Physically-Based Lighting using G-Buffer textures, Shadows, and IBL (Image-Based Lighting).
- Bloom Pass: Extracts bright areas from the PBR output, applies a Gaussian blur, and blends the result.
- Post-Processing Pass: Applies Tone Mapping, Gamma Correction, and final image adjustments.
- Final PBR Render Pass: Renders the processed output to the default framebuffer.
- Forward Render Pass: Draws objects that require forward rendering.
Complications
- In release 0.1, Two scenes: Due to the way some elements are rendered (in this case the objects that I instantiate, the animated model, the plane and the cubemap), I chose to “Forward render” them, rather than put them in the deferred pipeline. Alas, this made things rather complicated at the very end, and I had trouble putting everything together. This is fixed in version 0.2, but with fixing it some new bugs arose, and some of the effects I implemented (Cascaded Shadow Maps, Bloom, ..) don’t appear correctly in the last render. I am actively working towards fixing it.
Cascaded Shadow Maps
Description
To optimize the rendering of the shadows, we can reducec the quality of those that are further away from the view. To do as such, we can use Cascaded Shadow Maps (CSM). Meaning that instead of a single shadow map, CSM is used to split the view frustum into multiple layers and assign a separate shadow map to each, with reduced quality at a higher distance.
Learning Points and Complications
-
Depth Biasing: Avoiding shadow acne and Peter Panning, common artifacts you can get when working with shadows.
-
Optimal Split Scheme: Finding the best way to distribute cascades across the view frustum. There are a few values that require tweaking in order for the effect to look good, and they are often very scene dependant.
-
Update each frame: Since the layers used change depending on the view and its frustum, you need to update the shadows each frame, which would not be the case if you had standard shadows (as long as you don’t have moving lights, that is).
Geometry Pass
Description
The Geometry Pass is used for deferred rendering and consists in storing the position, normal, albedo, and material properties in a buffer called the G-Buffer that is then read by the following passes. Rather than rendering each object individually, like in a forward rendering pipeline, the effects are applied to the buffer and the buffer is rendered at once as a single texture on the screen.
Learning Points and Complications
-
Incompatibilities: Some techniques such as animation might not be easily made compatible with a deferred rendering, since they use different pipelines from the standard models.
-
Debugging: Without the use of a third party software like RenderDoc, if your whole rendering process isn’t complete, it is very hard to know if a specific pass is working properly, since it is not rendering anything on the screen but in a buffer.
Profiling
Begin Function
The start of the program is quite long (6,35 seconds) because it needs to load all models and textures from the disk. This is expected because I used more than a dozen of models. Initializing the future passes only takes a very short percentage of the total time.
Update on the CPU-side
On the CPU side, what takes most of the update time is the “Update Camera & Animation” function, because of the animation part. The second thing that takes the most time, as expected, is the Shadow Pass, since CSM requires to recalculate the layers based on the view position.
Update on the GPU-side
On the GPU side, most of the time is taken by “self time”, which is something that is outside of the nested zones, in this case it probably is the shaders execution.
Conclusion
Making one’s own renderer is an interesting challenge because it forces one to understand the importance of a solid order of operations to display things properly. As mentioned, some of what I implemented ended up missing from the final scene and I am therefore not fully happy with my result. Also, I did not have time to get into profiling and optimizing, which could provide interesting data on the cost of some better effects, for example.
GitHub Repo